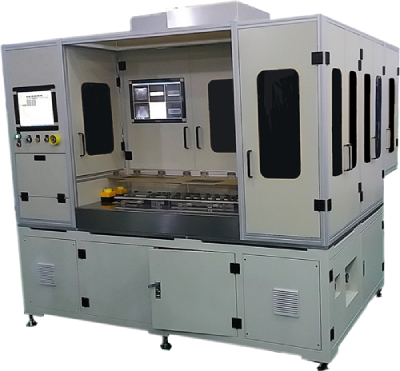
This equipment is used for final surface defect inspection of prismatic cell in the back end production process. Integrating high-precision CCD and 3D laser scanning technology, combined with self-developed intelligent algorithms, provides advanced production surface defect detection, as well as ultra-high-precision dimension and flatness measurement.
Key Features:
Surface inspection integrated
Size measurements included
Flatness measurement included
High precision CCD and 3D laser scanning
Defects sorting arrangement
Specifications:
| Prismatic battery final visual inspection | |
| Applicable products | Finished prismatic battery |
| battery size range (LWH) | 20~60*120~180*80~130(mm) |
| Dimensional measurement repeatability | 0.02 mm |
| 3D scanner resolution | 0.006mm |
| Production capacity | ≧12ppm |
| Model Changeover time | ≦60min |
| Equipment failure rate | ≦2% |
| Equipment size(LWH) | 1800*2500*2200(mm) |
| Control | PC+PLC |
Exterior:

Interior:

*Note: Customized SPEC Accepted.
Get in touch with us here